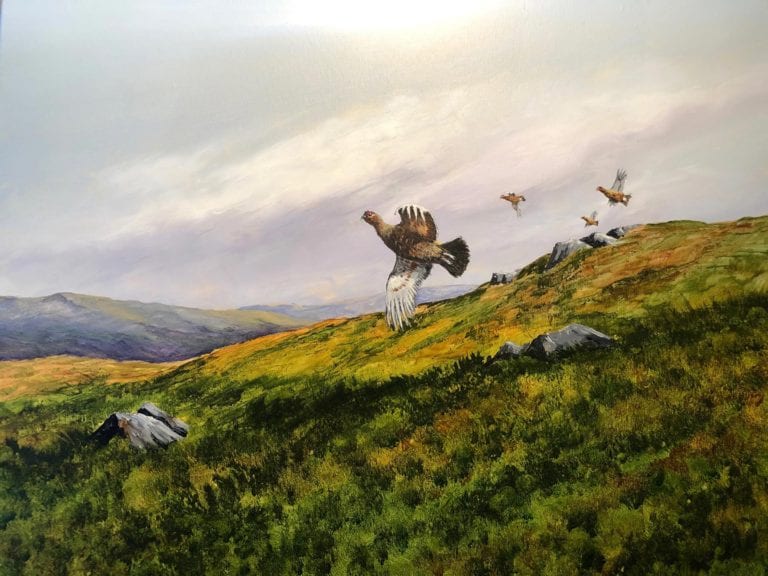
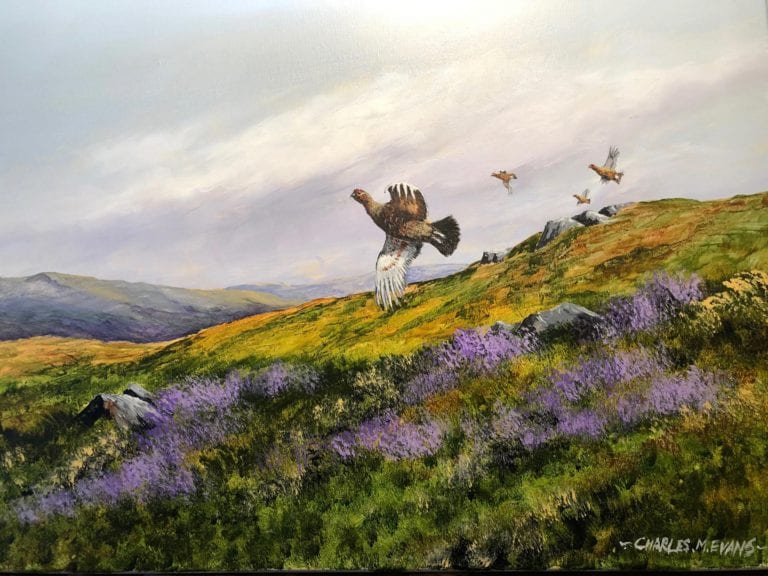
How to paint a grouse moor
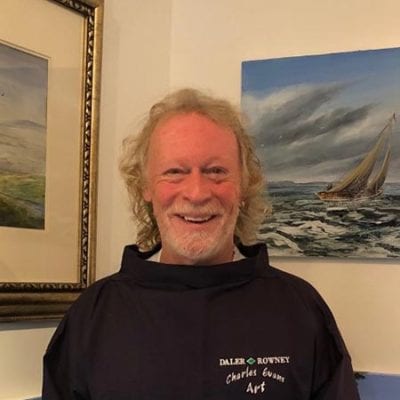
Charles Evans
What you need
- Acrylic paint – cobalt blue, raw sienna, hookers green, burnt sienna, raw umber, Naples yellow, titanium white, Payne’s grey, deep violet.
- 20 inch x 16 inch canvas
- Aquafine brushes – 1 ½ inch flat, ¾ inch flat, number eight round, number four rigger
Step 1
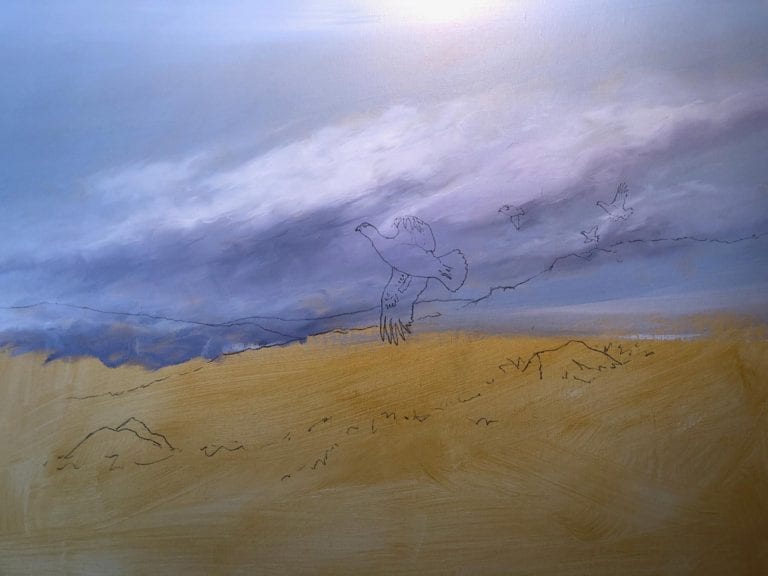
Before starting the picture, stain the entire canvas with raw sienna and let it dry.
Paint the sky with a mix of cobalt blue and titanium white. Use big strokes from side to side, adding more white as you come further down.
Wash out the brush and add a couple of big daubs of just white. Then with Payne’s grey mixed with a tiny touch of deep violet, put a couple of strokes beneath the white.
Finally, use your finger and create the shape of your clouds by rolling your finger across the canvas. Gently merge the grey into the white to create cloud shadow.
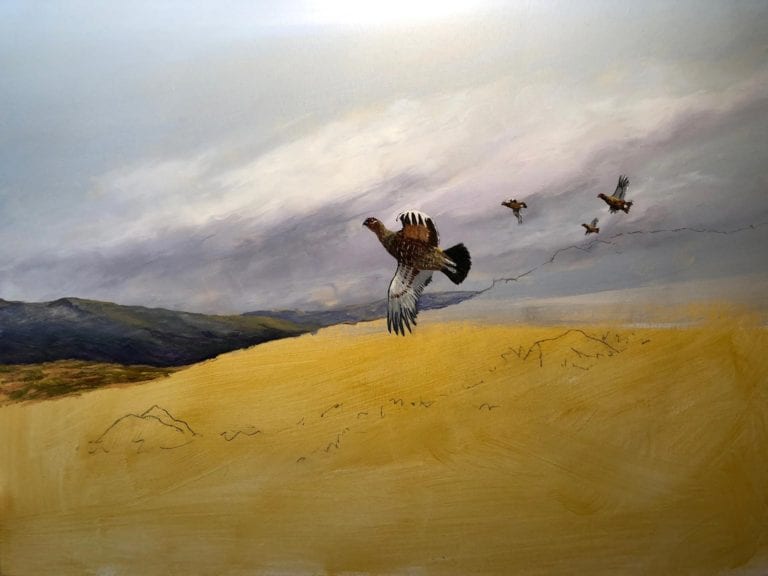
Once the sky has dried, do your outline drawing. But, not too much detail.
Step 2
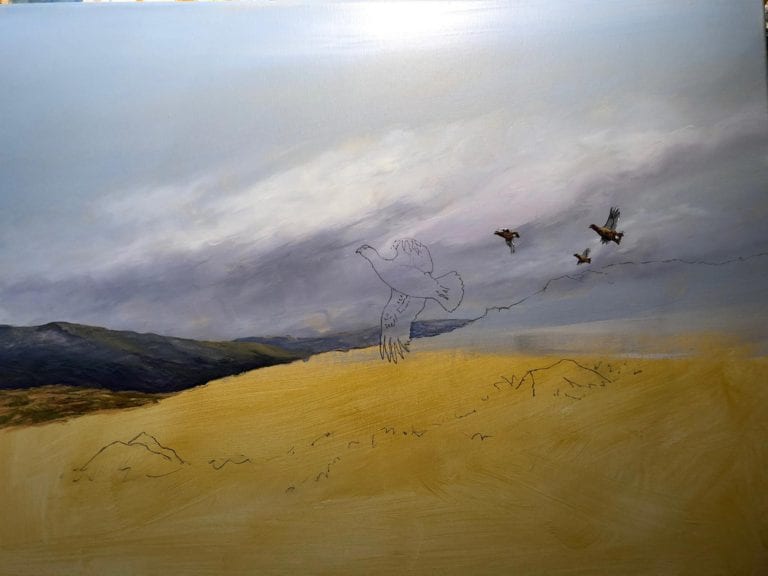
Start off by painting the distant hills. These are a very simple affair. Just make sure that the most distant are weaker in tone than the nearer ones. Use the ¾ inch flat brush for all of them. This stops you fiddling too much!
Use the same mix as for the cloud shadow for the most distant hills but with a little white added.
Then, add a couple of strokes of Naples yellow here and there, before stroking over with your finger and merging the colours.
Use the same mix for the bigger hill, but add more Payne’s grey and, again, a touch of Naples yellow.
That little bit of middle distance is very simple. Just bash on a bit of hookers green mixed with a lot of raw sienna. Then wash out the brush before finally adding a few daubs of raw sienna to add more light.
Time to paint some distant grouse. For these, change to the number eight round brush and paint the bodies with raw umber.
Then, add a few touches of burnt sienna here and there to warm up the tones.
For the underside of the wings, use a mixture of titanium white with a tiny touch of Payne’s grey. Then, as you can see, a few hints of brown bars of colour using raw umber mixed with burnt sienna.
Step 3
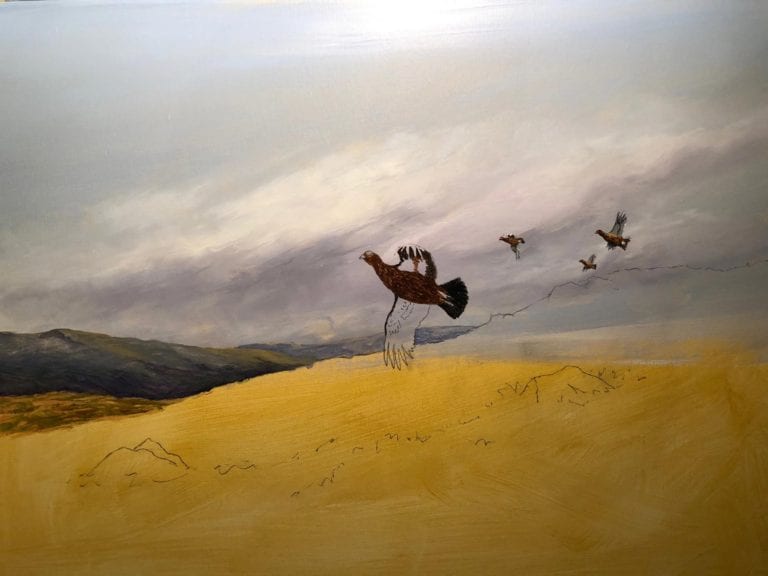
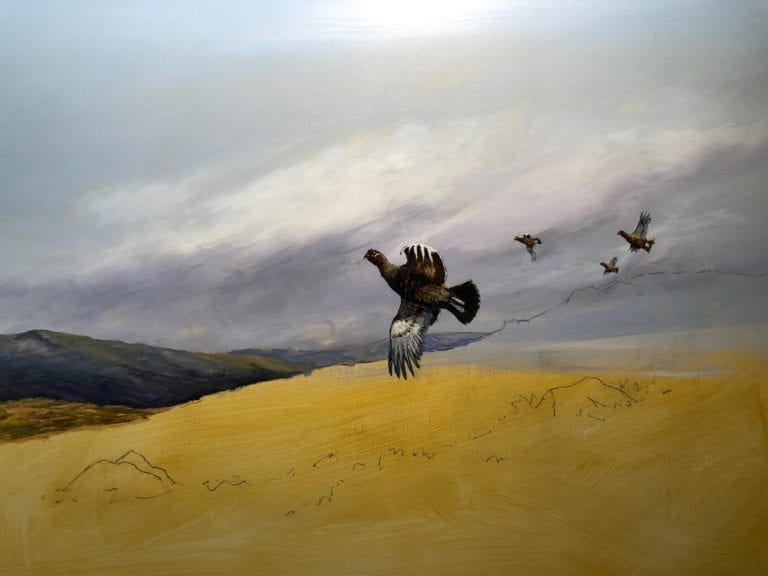
Now it’s time to paint a grouse and the main one of the piece. Use exactly the same colours as the last birds, only stronger.
For the darker areas, such as under the tail and under the curve of the wing, add a touch of Payne’s grey to the raw umber and burnt sienna mix.
Step 5
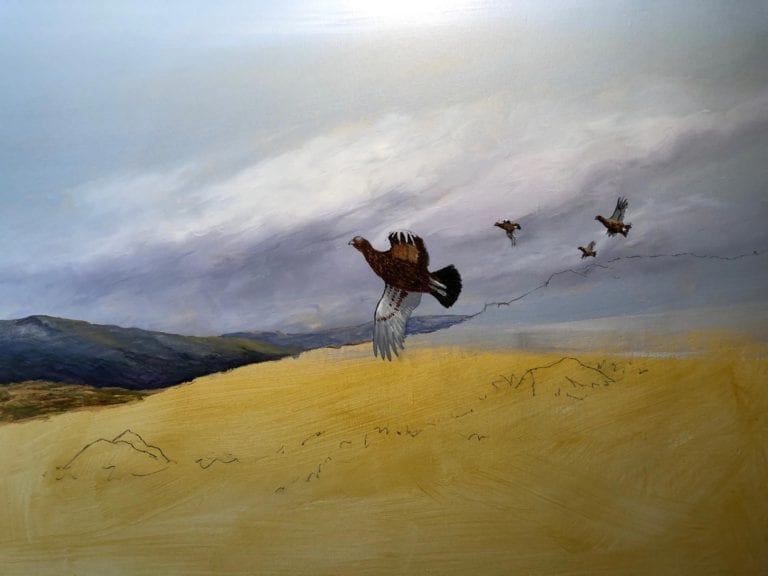
To finish the big bird, use the rigger brush to add some titanium white to the top of the wing and for the legs.
Add a touch of Payne’s grey into the white here and there to darken areas.
The beak and eye are painted with Payne’s grey. Don’t forget the little dot of white in the eye.
Step 7
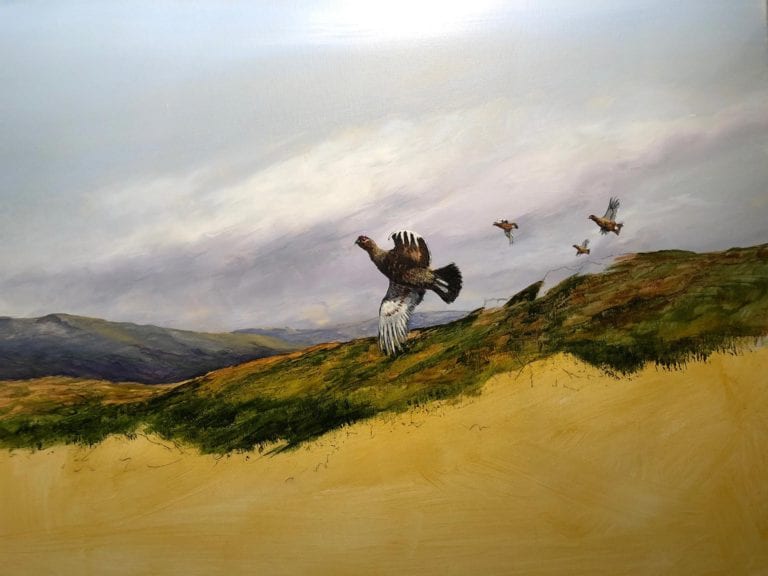
Now it’s moorland time and none of this is as difficult as it looks!
It is all painted with the ¾ in brush. Slap the paint on with big broad strokes.
Start off with hookers green and raw sienna mixed.
Then, add a few daubs of just raw sienna and the same of burnt sienna toward the bottom of this first bit.
Add a few strokes of Payne’s grey to darken.
Step 9
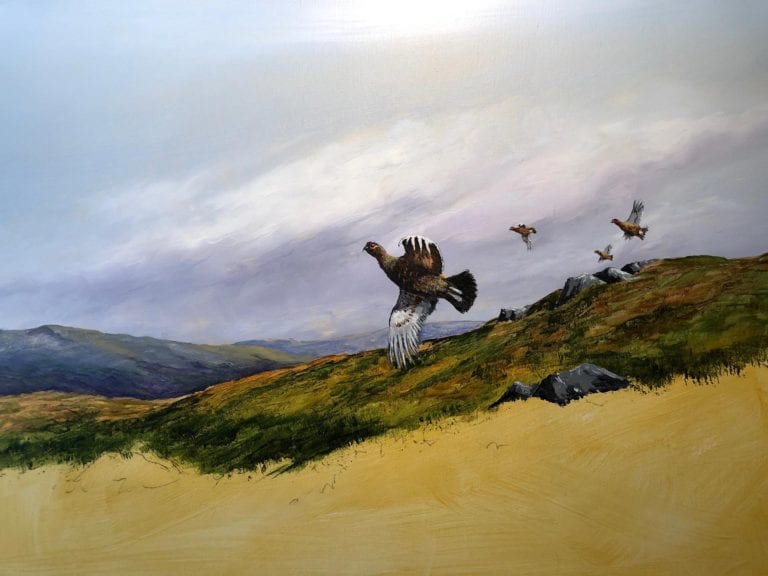
For the foreground and final piece of moorland, it’s back to the ¾ inch brush.
Use the same colours used for moorland but all much darker by adding burnt sienna to the hookers green.
Here and there, dab the brush instead of stroking to give a slightly rougher effect. Also, at this point, add another rock to the foreground.
Step 10
Time to finish this off with some heather.
Use the deep violet mixed with a touch of titanium white to stipple on with the ¾ inch brush, split.
Then, here and there put even more white into the mix for lighter touches of heather.
Finally, use the same split brush technique and a mix of hookers green and Naples yellow to add a few bits of light grasses.
I hope you enjoy painting this piece of nature!
Once you have painted your grouse masterpiece, don’t forget to send us a picture on social media. We can’t wait to see your paintings! Use #BASCPainting.
For more information, paintings, projects and the e-shop, visit Charles Evans’ website.
